How to Edit Kimono Photos so They Still Look Natural
Editing kimono photos isn’t about making them look “perfect.”
It’s about preserving the textures, colors, and atmosphere that make kimono special — while gently improving light, sharpness, and composition. Too much editing can flatten fabric patterns, change skin tones, or make the whole scene feel artificial.
Here’s a detailed, practical guide to editing kimono photos so they stay authentic, elegant, and true to real life ????✨
(Everything below applies whether you use Lightroom, Snapseed, VSCO, or similar apps.)
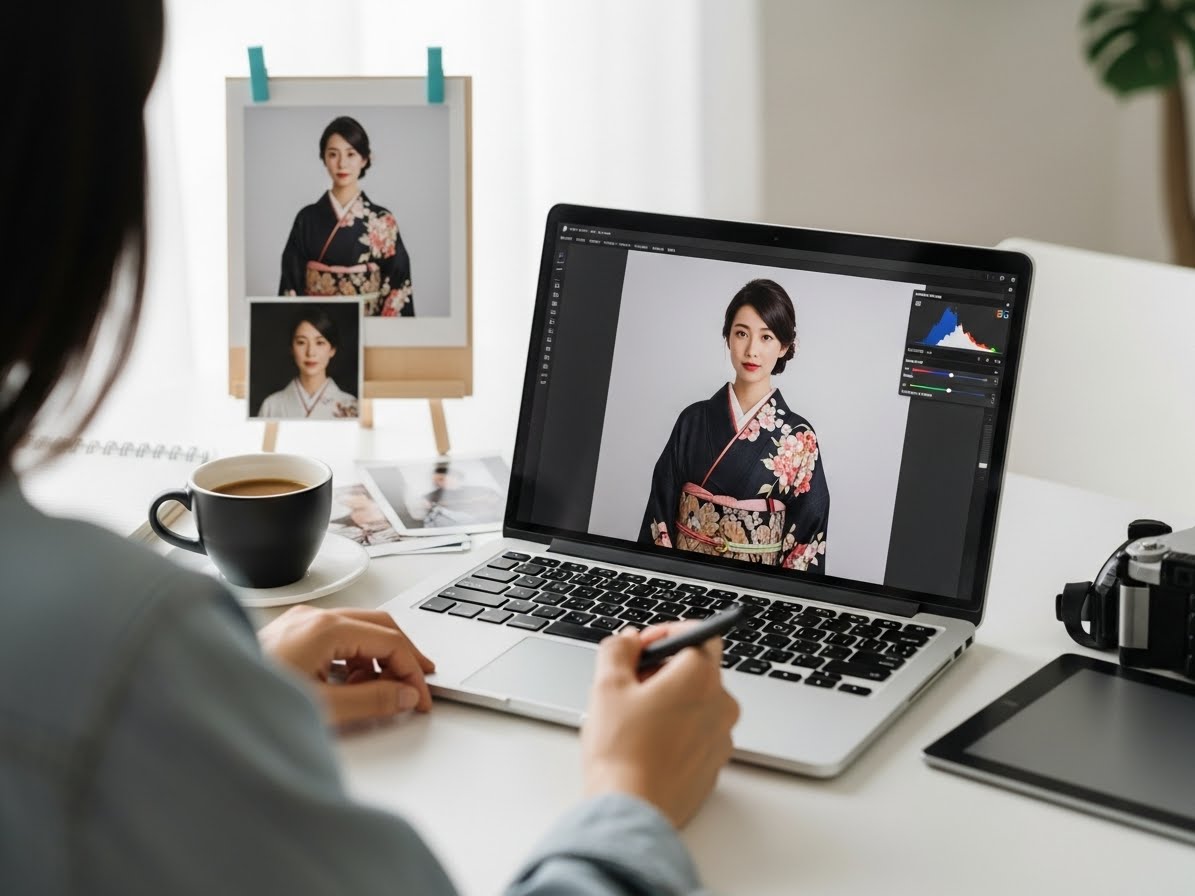
Start With Light — Not Filters
Before touching colors or retouch tools, fix the exposure.
1) Exposure (overall brightness)
Increase only until the face is clearly visible. If the kimono pattern starts to disappear, you’ve gone too far.
2) Highlights
Lower slightly to recover bright areas such as white collars and reflective obi fabric.
3) Shadows
Raise gently — this reveals detail in dark sleeves without making the image “washed out.”
Rule of thumb: small adjustments beat dramatic ones.
You want depth, not flatness.
Correct Color — Especially Skin Tones
Kimono photos often include warm lantern light, neon city lights, or green reflections from gardens — all of which can shift color.
1) White balance
If skin looks too orange → slide slightly cooler (toward blue).
If skin looks too blue → slide slightly warmer (toward yellow).
2) Tint
Japanese lantern light can add magenta. Reduce just enough so whites look neutral.
3) Vibrance vs. Saturation
Vibrance: increases color gently (safe).
Saturation: boosts everything equally (easy to overdo).
Use vibrance first. Leave the kimono vivid — but believable.
Preserve Fabric Texture (Don’t Over-Smooth)
The biggest editing mistake: heavy beauty filters.
Kimono fabric has depth — silk threads, weave lines, embroidery. Skin also has natural texture. When you blur or over-smooth:
patterns disappear
faces look plastic
the photo loses authenticity
If you need to soften skin:
use very low-strength skin smoothing
avoid the obi, sleeves, and collar
never blur the entire image
A little is enough. Texture is part of the story.
Fix Color Casts in the Kimono (Not the Whole Photo)
If only the kimono looks too red/green/blue, use selective color tools:
adjust the specific color channel (red, blue, green)
reduce saturation slightly
keep the rest of the photo untouched
This protects skin tone while correcting the garment.
Make the Subject Stand Out — Gently
1) Clarity / Structure
Use lightly to define folds, obi knots, and sleeve edges. Too much clarity makes faces harsh.
2) Local Dodge & Burn (if your app supports it)
Brighten the face and collar slightly
Darken distractions at the edges of the frame
This guides the eye naturally without looking “edited.”
Crop distractions such as garbage bins, signs, or half-visible people.
Use a slightly off-center composition — it looks more cinematic.
Leave space around the kimono hem and sleeves so they don’t feel cut off.
Keep the Background Realistic
Avoid fake blur tools unless absolutely necessary.
Artificial blur often cuts awkwardly around hair and sleeves — instantly revealing the edit.
If you want softer background:
shoot with natural depth of field during the photo
or apply only minimal blur, far from the subject’s edge
Natural > artificial every time.
Be Honest With Color of the Kimono
Many kimonos carry cultural or seasonal meaning (plum blossoms, cranes, autumn leaves). Over-editing colors can change their intent.
Ask yourself:
“Would someone who knows kimono still recognize this color?”
If the answer is “maybe not,” roll back the sliders.
Night Photos: Reduce Noise the Right Way
Low-light images create grain/noise. Noise reduction helps — but too much melts details.
reduce noise just enough
add a touch of sharpening after
keep lantern textures and hair detail visible
Balanced noise looks natural and film-like — not plastic.
Save in High Quality (And Keep the Original)
When exporting:
choose high-resolution JPEG (or HEIC if supported)
avoid repeatedly saving and re-editing the same compressed file
keep an untouched original for future re-edits
High-quality exports preserve fabric detail and print beautifully.
Ethical Retouching: What Not to Change
To keep authenticity:
don’t shrink waists or reshape bodies
don’t erase cultural elements (tatami seams, shrine ropes)
avoid whitening skin unnaturally
Edit to enhance reality — not to rewrite it.
A Simple Natural-Edit Workflow (Step-by-Step)
1️⃣ Fix exposure
2️⃣ Adjust white balance + tint
3️⃣ Lower highlights, lift shadows slightly
4️⃣ Small vibrance boost
5️⃣ Selectively correct any odd fabric colors
6️⃣ Light clarity on kimono details
7️⃣ Minimal skin softening (optional)
8️⃣ Crop + straighten
9️⃣ Gentle sharpening
???? Export in high quality
Total time: 5–10 minutes — and your image still looks like you.
Final Thought
Great kimono editing is invisible.
When someone sees your photo and thinks, “That moment looks real — and beautiful,” you’ve done it right.
Respect the colors, keep texture alive, and let light tell the story. With thoughtful, minimal edits, your kimono photos will feel timeless — not filtered, not artificial — just gracefully enhanced.